Bilingual Signage & Wayfinding
Author
Shun
Date Published

Wayfinding in Japan is as much an art as it is a system. A misplaced arrow or mistranslated label can unsettle guests and interrupt the quiet flow that Japanese hospitality strives to maintain. At large venues, clarity in bilingual signage often determines whether delegates arrive composed or confused.
I once coordinated a conference at PACIFICO Yokohama where a single mistranslated elevator sign sent half the audience to the wrong floor. It was a small oversight, but it disrupted timing across the entire morning. Since then, I have treated signage planning in Japan as part of event design, not decoration.
At venues such as Tokyo Big Sight, signage operates as invisible infrastructure, directing movement and maintaining pace. Even subtle issues like reversed language order, unclear icons, or unapproved placements can slow guests down. This guide outlines Japan’s bilingual wayfinding standards in practical terms, from language sequencing and pictogram choice to print and digital integration, ensuring every attendee moves through your event confidently, and right on time.

Labeling Rules (JP and EN Order)
Japan has clear conventions on how Japanese and English appear together on directional signs. At first glance, bilingual signage seems simple, but the order, spacing, and font hierarchy carry cultural meaning. Most venues require that Japanese appear first, followed by English in smaller type.
At large facilities such as Tokyo Big Sight, you will notice Japanese text placed above English, using neutral sans serif fonts. This layout follows national guidelines for bilingual public communication, balancing respect for local audiences with accessibility for international visitors.
Key practices:
- Japanese first, English directly below or beside it
- Larger or bold Japanese font for clarity
- Neutral color palette with high contrast
- Consistent design repeated across the venue
Confirm labeling hierarchy with the venue before printing or programming digital templates. This ensures alignment with house standards and avoids last minute rework. When finalizing documentation, I usually include phrasing like:
All venue signage shall display Japanese text first, followed by English in a standardized format approved by the venue and compliant with local design regulations.
Mini Checklist:
- Confirm labeling sequence and font ratio
- Request signage template from venue or printer
- Verify readability for both languages
Request a bilingual signage sample sheet from your venue to confirm layout approval before production.
Icon and Pictogram Selection
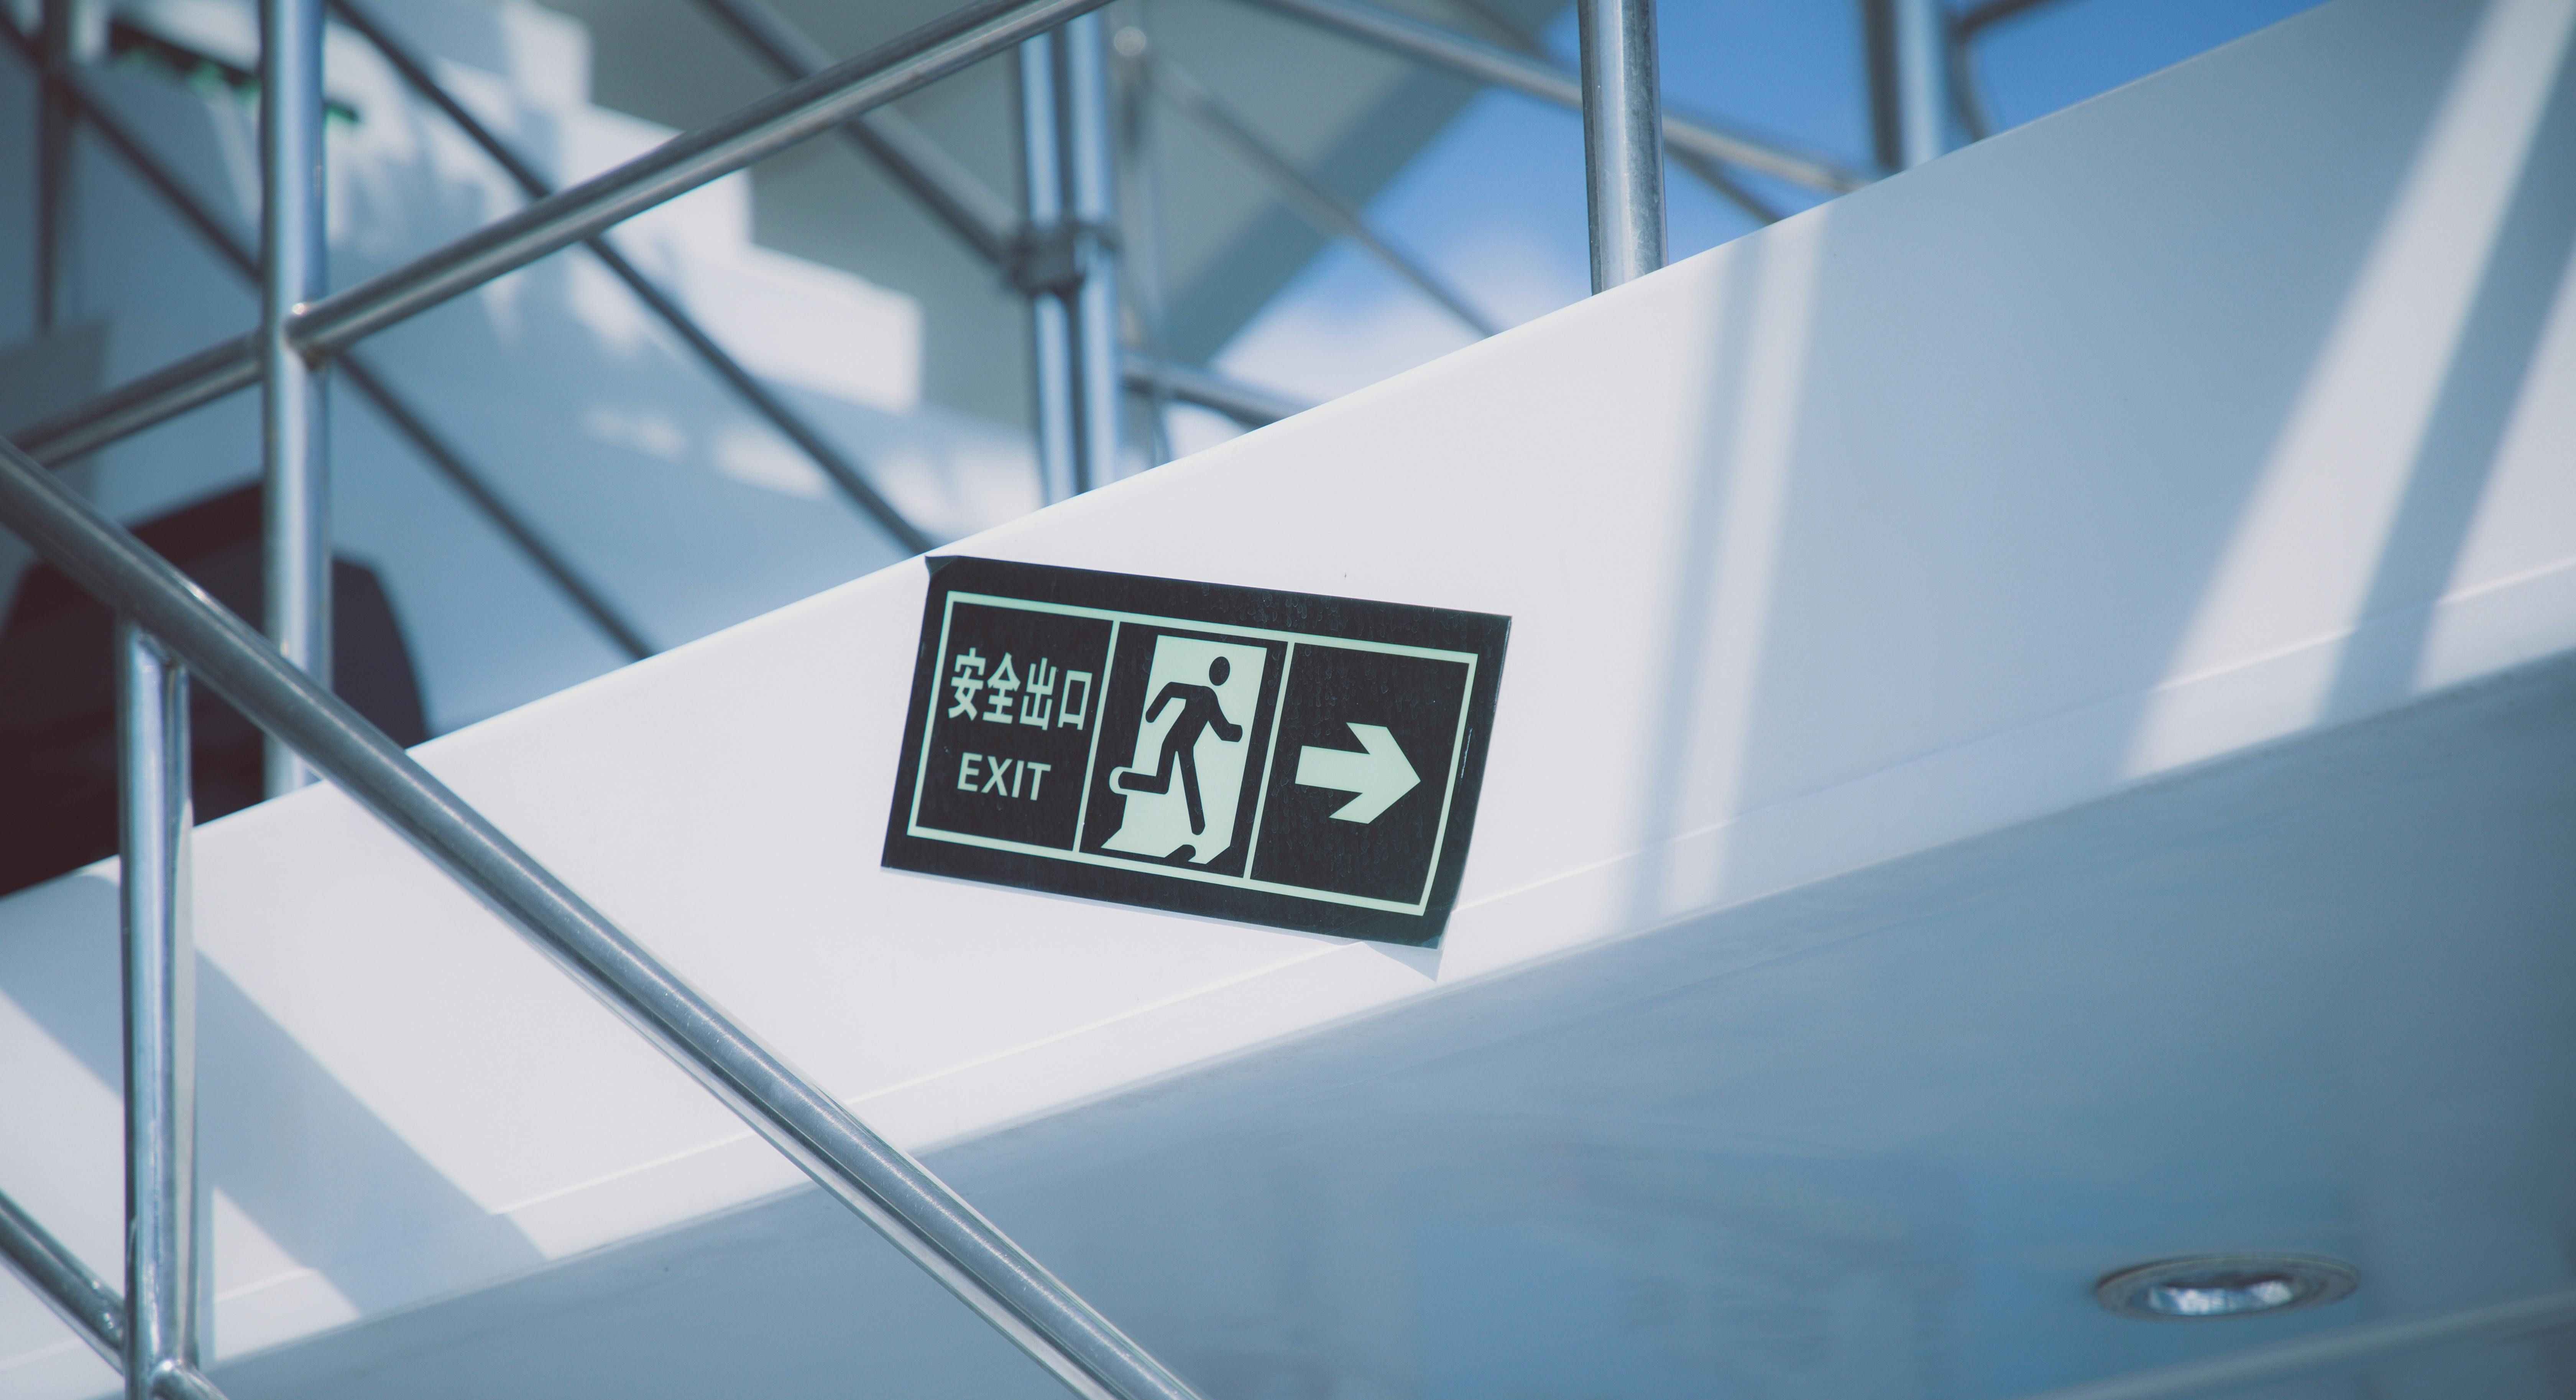
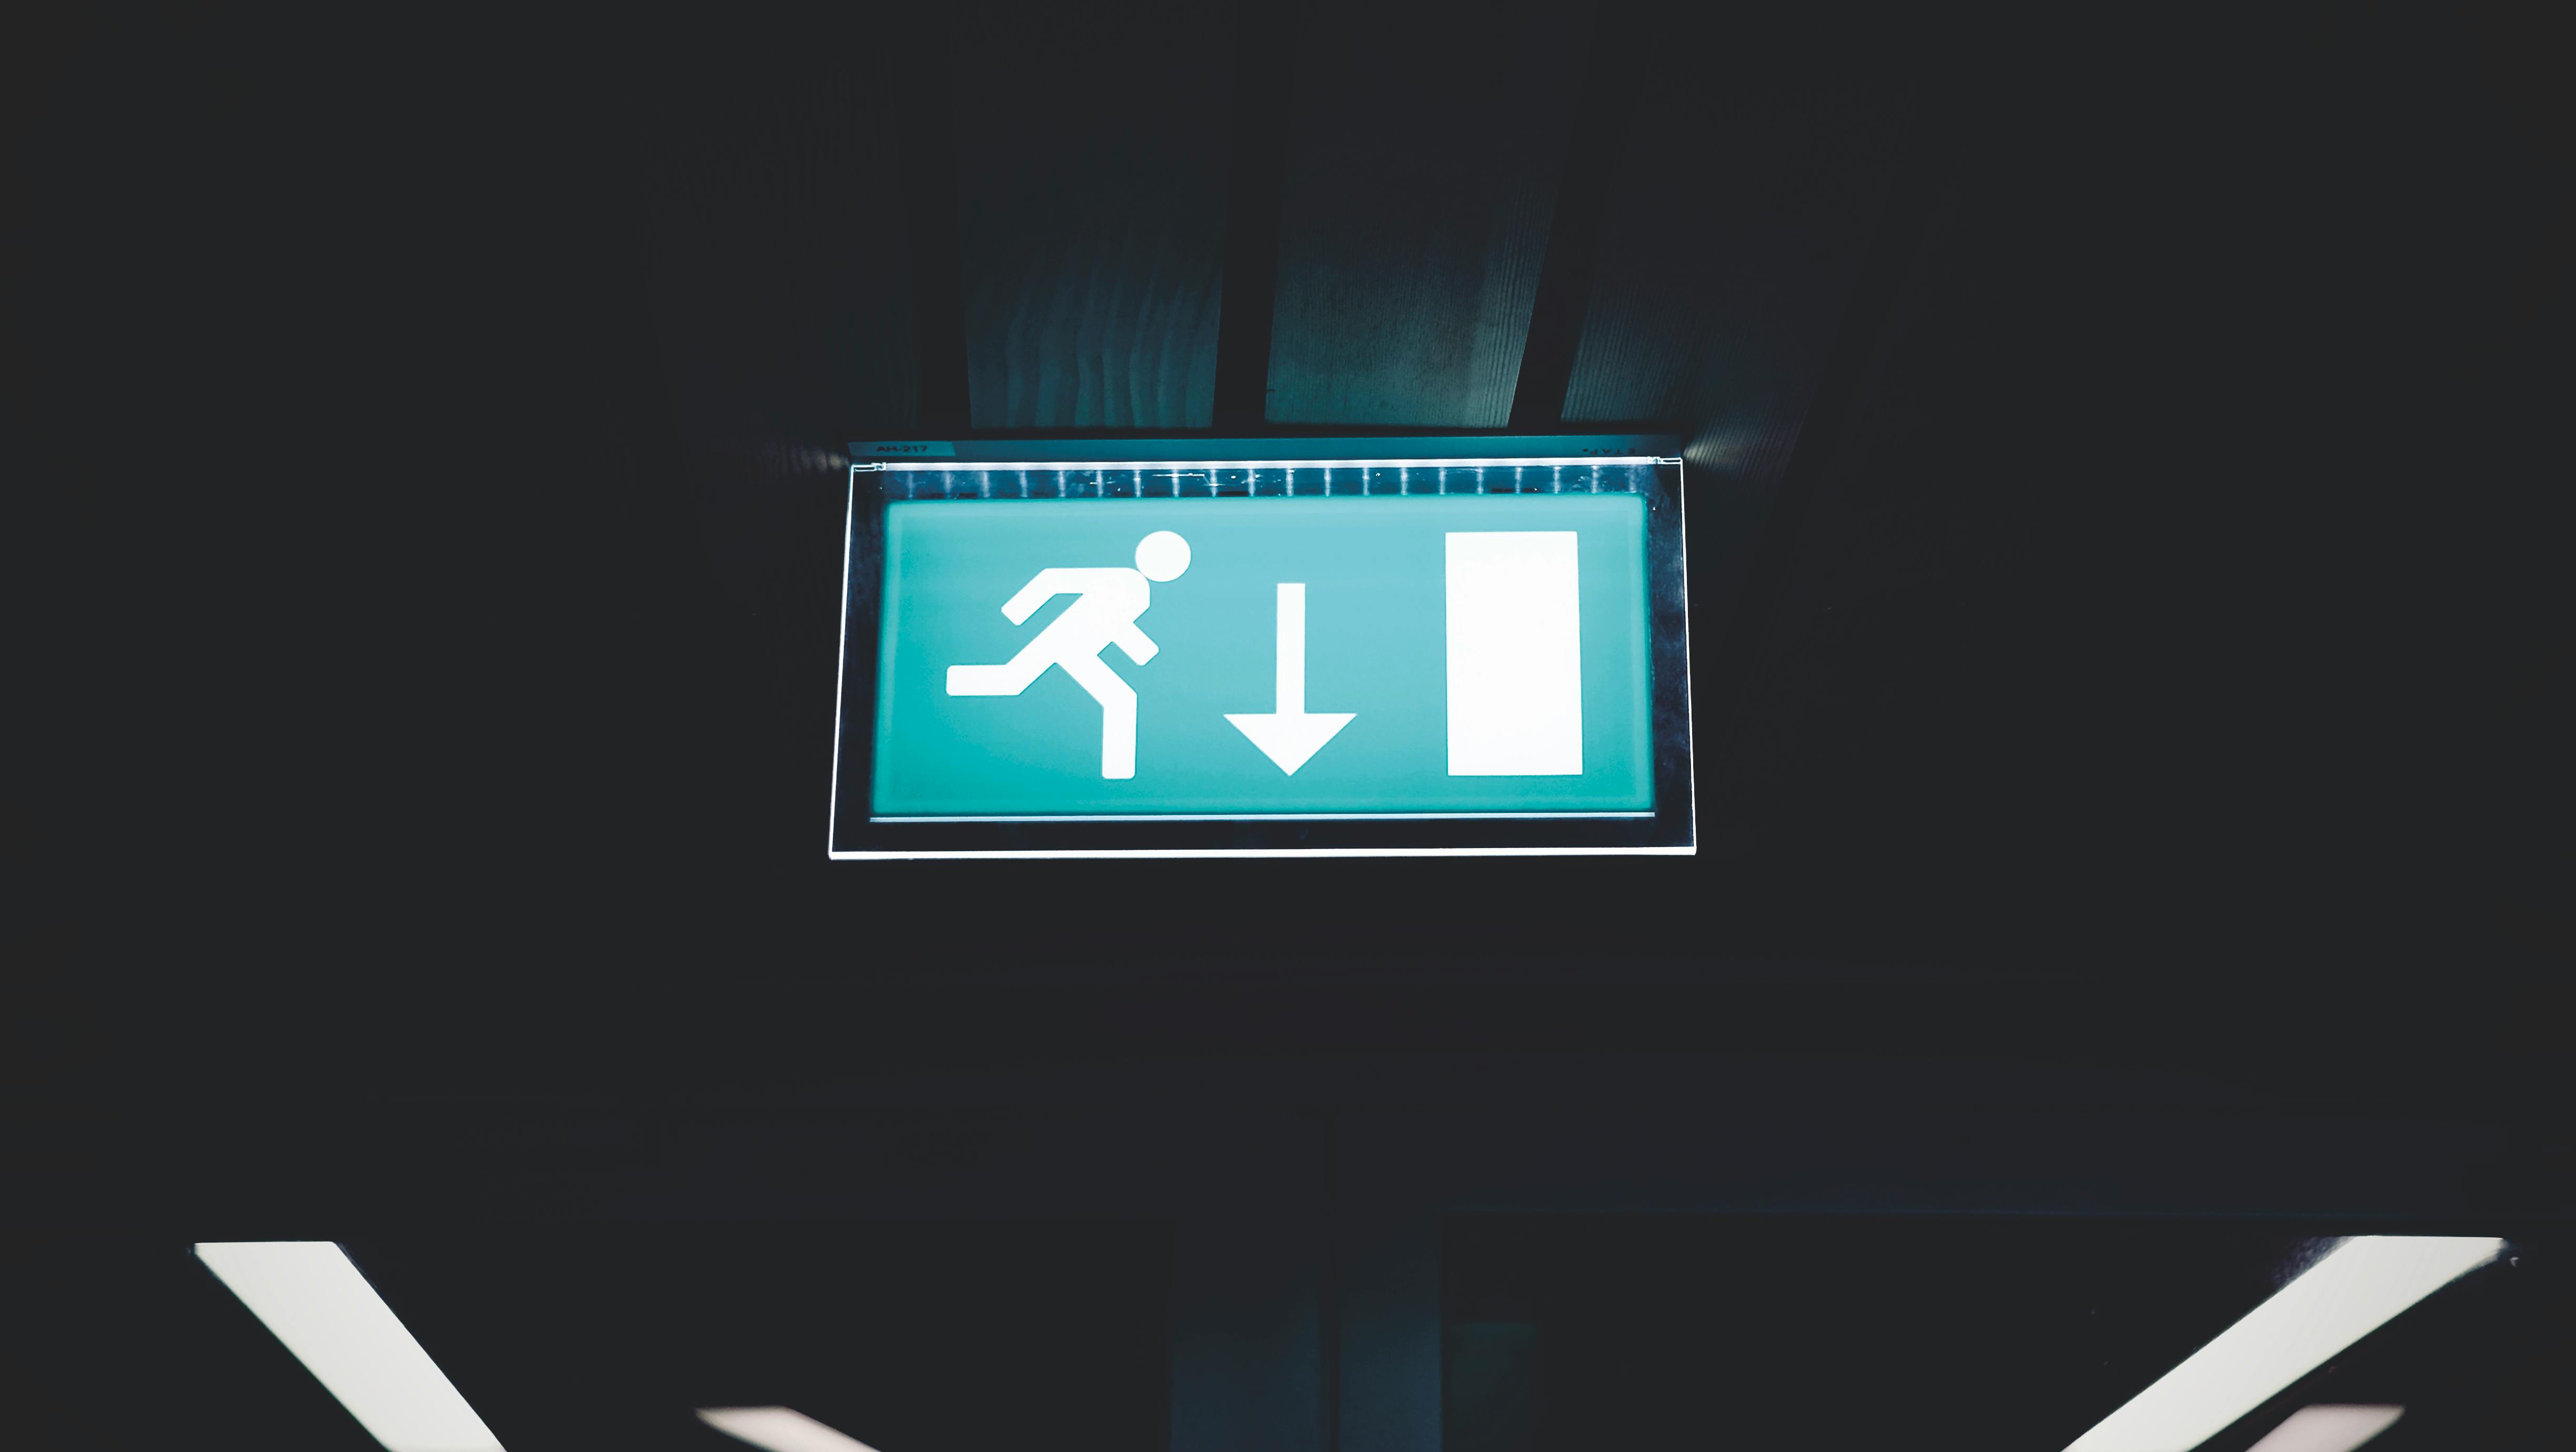
Icons seem universal, yet Japan interprets them differently. Certain international pictograms do not match domestic expectations. For instance, Japan’s restroom symbols are minimal and gender neutral, and all exit signs use green to indicate safety.
During a medical congress at PACIFICO Yokohama, we once used a Western-style red exit icon. The local fire marshal requested its removal because Japanese regulations mandate green for all emergency indicators. The adjustment ensured both clarity and compliance.
Common practices:
- Use JIS (Japanese Industrial Standard) pictograms
- Match ISO 7001 icons only when JIS equivalents are unavailable
- Avoid humor or stylized imagery
- Test visibility against lighting and wall color
- Use arrows instead of English words for direction
When preparing contracts or supplier scopes, I generally note a line such as:
All pictograms used on event signage shall follow Japanese Industrial Standard (JIS) or equivalent local regulation to ensure visual consistency and safety compliance.
Mini Checklist:
- Confirm JIS or ISO compliance
- Review color contrast
- Avoid mixing local and imported icons
Request a visual compliance review from your signage vendor before final approval.

Print vs Digital Usage
Japan’s event venues are adopting digital displays quickly, yet printed signage remains essential for reliability. Screens add flexibility but require power permissions, installation supervision, and contingency planning.
At Nihonbashi Mitsui Hall, digital screens manage session updates while printed boards mark static points like registration or restrooms. This hybrid approach provides both clarity and stability.
Best practices:
- Use print for fixed guidance and reliability
- Use digital for time-sensitive updates
- Maintain bilingual file names for easy revision
- Confirm brightness limits set by the venue
Printed materials must comply with mounting policies, while digital signs require power and network authorization. Coordinate both through a local bilingual supplier listed in the Vendor Directory. For clarity in documentation, I recommend adding language like:
Printed and digital signage shall follow venue-approved specifications for power use, brightness, and mounting method to ensure operational safety.
Mini Checklist:
- Confirm print and screen dimensions
- Check mounting permissions
- Keep editable files ready for updates
Ask your venue’s AV coordinator to verify installation points and electrical permissions before production.
Placement Routes and Permission Process
Signage in Japan cannot be placed freely. Each venue has defined routes and approval layers. Unapproved signs are often removed during inspection.
.png)
At the Tokyo International Forum, every placement, from lobby panels to corridor stands, must be pre-marked on a site plan. Fire exits, heritage walls, and glass partitions are off limits.
Key considerations:
- Submit placement maps at least two weeks before setup
- Obtain sign off from facility and security teams
- Avoid restricted areas such as emergency exits
- Keep placement height uniform around 150 cm to 160 cm
- Use non marking materials approved by the venue
Before installation, conduct a short walk-through with the venue’s operations manager to confirm flow and safety. For installation permissions, I usually propose adding a line such as:
All signage placement shall follow the venue’s approved route plan, with installation methods and materials authorized by facility management before setup.
Mini Checklist:
- Submit layout maps for pre-approval
- Use safe mounting materials
- Confirm fire and aesthetic compliance
Schedule a venue walk-through with the operations team to finalize signage locations before printing.
FAQs
1. Why must Japanese appear first on signs?
It follows national readability conventions and respects cultural hierarchy. English appears second to support international visitors.
2. Are international icons acceptable?
Only if they match local standards. Japan uses JIS pictograms for safety and consistency.
3. Do I need venue approval for temporary signage?
Yes. Most venues require submission of a layout plan at least two weeks before setup.
4. Can I use only digital signage?
It is possible, but printed backups are recommended in case of power issues.
5. Who ensures translation accuracy?
Translations should be checked by a bilingual reviewer or verified through the Vendor Directory.
Conclusion
Effective bilingual signage is about clarity, not decoration. Each word, arrow, and icon shapes how guests move and feel guided. When designed with Japanese precision and local compliance, signage becomes an extension of hospitality.
Follow JNTO guidelines for multilingual displays and ICCA standards for delegate experience. Confirm every layout, color, and installation method in writing to plan a fool proof event.
For bilingual template design, translation checks, or compliance reviews, contact Japan Meetings for support that ensures guests navigate every venue with confidence.